
Invoking the Graphical Installer

Download software for window operating system.

The following section walks you through installing PostgreSQL on a Windows host.
To start the installation wizard, assume sufficient privileges and double-click the installer icon; if prompted, provide a password.
Note that in some versions of Windows, to invoke the installer with Administrator privileges, you need to right-click on the installer icon and select Run as Administrator from the context menu.
The PostgreSQL setup wizard opens. Click Next to continue.

Fig. 1: The PostgreSQL setup wizard welcome dialog
The Installation Directory window opens. Accept the default installation directory, or specify an alternate location and click Next to continue.

Fig. 2: The Installation Directory dialog
Use options on the Select Components dialog to select which software components will be installed.
Select:
PostgreSQL Server to install the PostgreSQL database server.
pgAdmin 4 to install pgAdmin 4. This is available for PostgreSQL version 13.0.
Stack Builder to install the Stack Builder utility; for more information about the Stack Builder utility, see Using Stack Builder.
pgAdmin 4 to install pgAdmin 4. This is available for PostgreSQL version 13.0.
Stack Builder to install the Stack Builder utility; for more information about the Stack Builder utility, see Using Stack Builder.
Command Line Tools to install PostgreSQL tools such as psql, pg_isready, and pgbench, clusterdb, createdb, and dropdb, createuser and dropuser, pg_basebackup, pg_dump, pg_dumpall, and pg_restore, reindexdb, vacuumdb, and vacuumlo.
This is not a comprehensive list; the command line tools installed may vary by platform.

Click Next to continue.
The Data Directory window opens. Accept the default location or specify the name of the alternate directory in which you wish to store the data files.
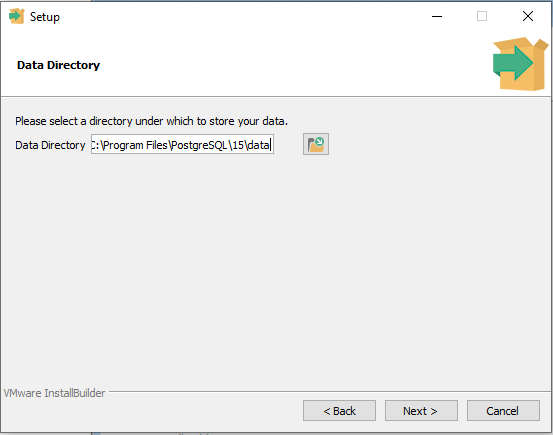
Fig. 4: The Data Directory dialog
Click Next to continue.
The Password window opens.

Fig. 5: The Password dialog
PostgreSQL uses the password specified on the Password window for both the database superuser and the PostgreSQL service account.
PostgreSQL runs as a service in the background; the PostgreSQL service account is named postgres. If you have already created a service account with the name postgres, you must specify same password as the existing password for the postgres service account.
The specified password must conform to any security policies existing on the PostgreSQL host. After entering a password in the Password field, and confirming the password in the Retype Password field, click Next to continue.
Use the Port field to specify the port number on which the server should listen. The default listener port is 5432. Click Next to continue.

Use the Locale field to specify the locale that will be used by the new database cluster. The Default locale is the operating system locale. Click Next to continue.

Fig. 6: The Advanced Options dialog
The Pre Installation Summary dialog displays the installation preferences that you have specified with the installation wizard. Review the settings; you can use the Back button to return to a previous dialog to modify a setting, or click Next to continue.

Fig. 7: The Pre Installation Summary dialog
The wizard will inform you that it has the information required to install PostgreSQL; click Next to continue.

Fig. 8: The Ready to Install dialog
During the installation, the setup wizard confirms the installation progress of PostgreSQL via a series of progress bars.

Fig. 9: The Installing dialog
Before the setup wizard completes the PostgreSQL installation, it offers to launch Stack Builder at exit. The Stack Builder utility provides a graphical interface that downloads and installs applications and drivers that work with PostgreSQL. You can optionally uncheck the Stack Builder box and click Finish to complete the PostgreSQL installation or accept the default and proceed to launch Stack Builder.

Fig. 10: The installation wizard offers to Launch Stack Builder at exit
Could this page be better? Report a problem or suggest an addition!

No comments:
Post a Comment